Assuming you have a Symfony 7 project, or followed our guide
We can navigate to our webroot, in our example /var/www/testing. Also, for our example, we will be using PHPStorm for the development. You can of course use any editor you like.
cd /var/www/testing
Then we can start requiring the Symfony Panther package.
composer req --dev symfony/panther

A question appears, its related to a recipe focused on the ability to run a container through Docker, we don’t have docker installed, and are going for a more direct usage.

Next, we will focus on installing a (browser) driver. The below would do the trick if you would be on the machine actually executing the tests.
sudo apt -y install chromium-chromedriver firefox
For our case, in Windows, you can download the chromedriver, and just place it inside the C:\Windows directory.
You can download the latest Chrome Driver here: https://chromedriver.chromium.org/downloads
However, that one (at the time of writing) supports up to Chrome 114, and our local browser is 121 already. This means we actually go with Firefox, we have a recent version installed, and we generally find it better at handling the version differences through the Gecko Driver.
For using Firefox, like in our Example code, you can download the Gecko Driver here: https://github.com/mozilla/geckodriver/releases
Extract the zip file, and place the geckodriver.exe into the same C:\Windows folder as we would do the Chrome Driver.
Now we will switch to PHPStorm, and the development part.
First we need to load our project in PHPStorm, if you have not already. In PHPStorm you can either open the main menu, and just select Open from the options, this will allow you to select your folder.
Otherwise, from the home screen, there also is a Open button.
Symfony, by default, has a tests folder in its root path. For us we created a folder named Functional inside that, and then created a file named ExampleTest.php to start writing.
tests/Functional/ExampleTest.php

And then the content of the ExampleTest.php
<?php

namespace App\Tests\Functional;

use Symfony\Component\Panther\DomCrawler\Crawler as PantherCrawler;
use Symfony\Component\Panther\PantherTestCase;
use Symfony\Component\Panther\Client;

class ExampleTest extends PantherTestCase
{
    public function testExampleSite(): void
    {

        //$client = Client::createChromeClient(); //If you use Chrome
        $client = static::createPantherClient(['browser' => static::FIREFOX]); // A splendid Firefox
        // see more options here: https://github.com/symfony/panther

        /** @var PantherCrawler $crawler */
        $crawler = $client->request('GET', 'https://www.outinthe.cloud');

        // Use any PHPUnit assertion, including the ones provided by Symfony
        $this->assertPageTitleContains('OutInThe.Cloud');

        $h1s = $crawler->filter('h1');
        $first = $h1s->first();
        $this->assertEquals("Out In The Cloud", $first->getText());

        $this->assertSelectorTextContains('footer a', 'OutInThe.Cloud');
        // Use waitForX methods to wait until some asynchronous process finish
        $client->waitFor('.not-a-real-thing'); // wait for element to be attached to the DOM
    }
}
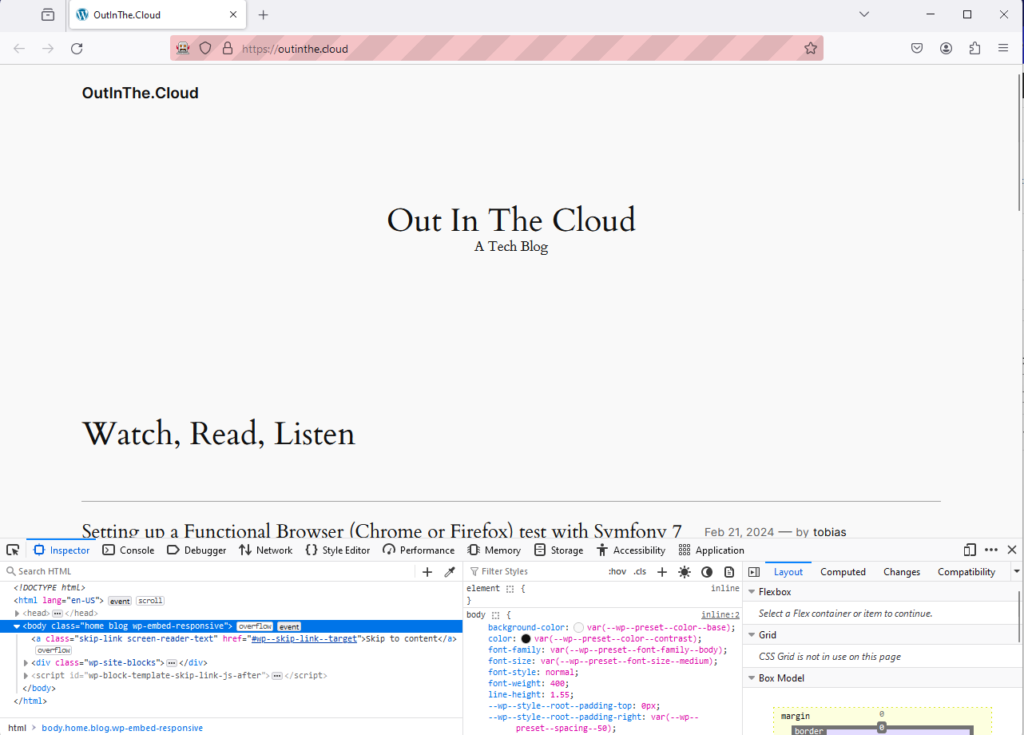
Please note we will waitFor at the end, this actually will not exist, but initially leave the browser open for us to see it has got that for, and we can inspect some elements (before it times out).
Inside PHPStorm we did have to configure some settings on our test setup, to see it work. The easiest way to get a configuration started though, is clicking the play button next to the class we just created.

This will show a menu, in which we can select the first option.

This will show the new test (it will fail execution, ignore for a moment), in the menu towards the top right.

We can click the chevron down next to our test name, and choose to Edit Configurations
As you see, a “main” is also there, since PHPStorm had already detected the phpunit.dist.xml that came with the project.

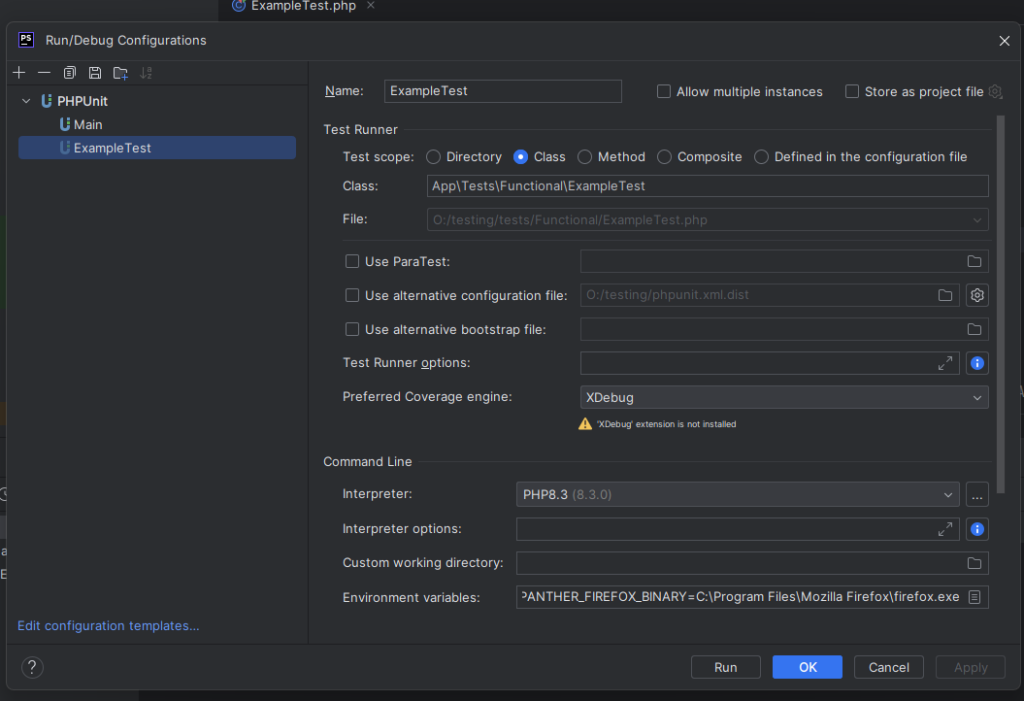
Depending on your local setup, the screen may look slightly different, but most importantly, make sure to select the interpreter for the local PHP version. In our case its PHP 8.3.
Next, set the right environment variables. That is not anywhere needed to be done but inside this screen. The easiest entries we find is through clicking the icon on the right side of the Environment Variables option.

This will open a window

As you can see, we already show two that we have setup. The PANTHER_NO_HEADLESS with a value of true (this can be other things too, but this works). This setting will make the browser window visible as it runs through the test. This can be extremely valuable during test-development.
The other setting is as we use a Windows machine to run the test, the PANTHER_FIREFOX_BINARY setting should point to your firefox.exe executable. In our case in C:\Program Files\Mozilla Firefox\firefox.exe.
After completing this, hit OK on the Environment Variables window, and then again for the Run/Debug Configurations window.
Now we can click the ![]() icon next to our configurations
icon next to our configurations

This will start execution of the test.

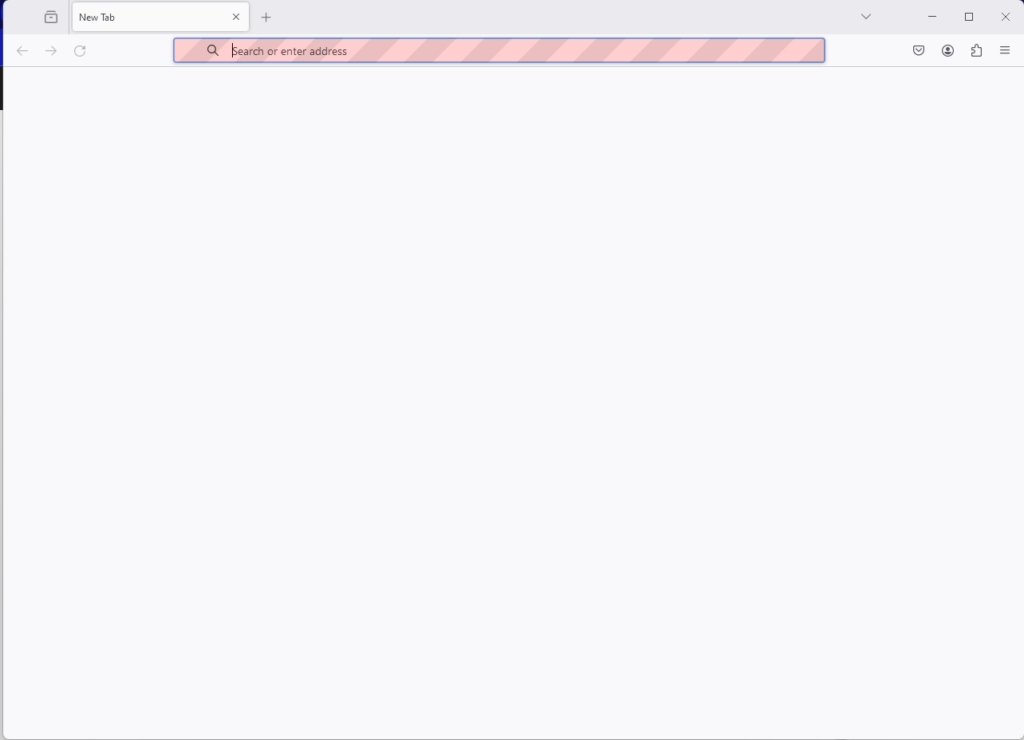
The first run may take a moment to start, but a blank Firefox browser window will appear.

Which will open the www.OutInThe.Cloud site, and start executing our test instructions and ensure we pass our assertions.

In the example test, the initial result will end in a Facebook\WebDriver\Exception\TimeoutException

Just comment out the responsible waitFor line

Like so:

Then execute again, and this time the browser will only stay open for a moment, as our assertions pass pretty quickly, but then we end in a successful result

From here you can expand your test, moving around by clicking links and other things. The most important item for that is actually declared in the example code as the $crawler. This in an instance of the Symfony\Component\Panther\DomCrawler\Crawler class. This will allow you to filter (and much more) for elements, like a‘s in HTML, which then can be clicked.
As long as you keep making assertions (or place waiting for elements) the test will continue!

Leave a Reply